Ако сте закупили Subaru Legacy от 2012 г. и трябва да програмирате транспондерен ключ за него, можете лесно да го направите с помощта на Инструмент VXDIAG SSM3По-долу е дадено подробно ръководство за това как програмирах транспондерните ключове за моето Subaru Legacy от 2012 г., използвайки диагностичния инструмент VXDIAG OBD2.
Подготовка
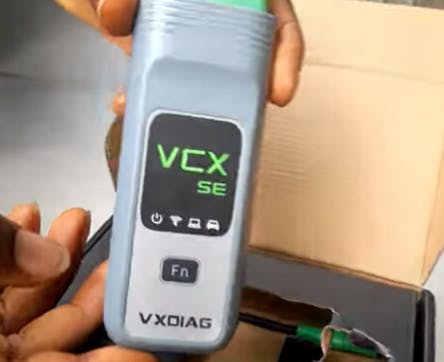
Първо, купих два транспондерни ключа от eBay, планирайки да ги програмирам сам. Купих... VXDIAG VCX SE pro 3 в 1 интерфейсТози инструмент е от официалния магазин на vxdiag, www.vxdiag.com, се предлага с няколко софтуерни опции за различни марки автомобили и аз избрах Subaru, Ford и GM. След това започнах процеса на програмиране на ключове, следвайки стъпките по-долу.


Стъпка 1: Поставете ключа и потвърдете, че не е програмиран
Първо, поставих непрограмирания ключ в запалването. В този момент на таблото се появи икона на превозно средство с ключ, което показваше, че ключът е непрограмиран и превозното средство не може да запали. След това поставих програмиран ключ, но не светна предупредителна светлина и колата запали нормално.
Стъпка 2: Получете необходимите кодове
Преди да започна процеса на програмиране, ми трябваха някои ключови кодове. Subaru предоставя бюлетин за техническо обслужване, който обяснява как работи имобилайзерът и програмирането на ключове. За да получа кода на имобилайзера, трябваше да посетя дилърство на Subaru, да предоставя доказателство за собственост на автомобила и да получа кода от тях.

Стъпка 3: Свържете инструмента VXDIAG SSM3
Свързах интерфейса VXDIAG VCX SE към превозното средство и стартирах софтуера SSM3. След като софтуерът се отвори, избрах „Subaru“ и след това „Monitor“ 3" като устройството. След това избрах „Всички модули на майката“ и въведох модула „Имобилайзер“. След това системата попита дали автомобилът поддържа безключово стартиране. Тъй като моят Legacy няма тази функция, избрах „Не“.


Включете запалването с работещия ключ.
и изберете да.


Стъпка 4: Въведете кода за обучение
В следващата стъпка инструментът SSM3 ме подкани да въведа кода за операцията по обучение. Този код може да бъде намерен онлайн. За Legacy от 2012 г. използвах код „3781“ и успешно преминах тази стъпка.


Стъпка 5: Регистрирайте ключа
След това започнах процеса на регистрация на ключ. Тази стъпка може да отнеме малко време. Инструментът SSM3 поиска идентификационен номер за сигурност, който също трябваше да получа от дилъра на Subaru. След това поставих първия си ключ и избрах „Регистрирай ключ“.


Стъпка 6: Регистрирайте втория и третия ключ
Тъй като имах три ключа за програмиране, системата ме подкани да поставя новите ключове и да ги регистрирам. Избрах „Да“ и следвах указанията, за да завърша регистрацията на втория и третия ключ. Важно е да се отбележи, че при регистриране на нов ключ системата ще изтрие всички предишни ключове. Следователно, ако имате няколко ключа за регистриране, трябва да ги регистрирате всички наведнъж.


Стъпка 7: Програмирайте дистанционното
Тъй като старата кола на родителите ми имаше инсталиран дистанционен стартер, но бяха загубили превключвателя на дистанционното, реших да опитам да програмирам дистанционния стартер. С помощта на инструмента VXDIAG SSM3 успях лесно да продължа с тази задача, въпреки че все още не съм тествал напълно дали работи.
Стъпка 8: Завършете програмирането
След като успешно регистрирах всички ключове и дистанционни, щракнах върху „Изход“, за да завърша процеса. Сега всичките ми ключове работят и автомобилът пали плавно.

Заключение
С помощта на диагностичния инструмент VXDIAG успешно програмирах транспондерните ключове, дистанционното и регистрирах всички ключове за моето Subaru Legacy от 2012 г. Мощните функции на този инструмент не само ми спестиха време от посещение в автокъщата, но и ми позволиха да избегна високи такси за програмиране. Като се има предвид, че мога да го използвам многократно, той почти се е „изплатил“. За собствениците на автомобили, които искат да програмират свои собствени ключове, инструментът VXDIAG определено е полезна инвестиция.