


Купих този адаптер, за да се опитам да поправя Шевролет Волт от 2013 г. Досега, през последната седмица, инсталирах и деинсталирах софтуера няколко пъти. Продължавам да получавам съобщение „не мога да намеря“ javaw.exeДеинсталирах и преинсталирах Java и софтуера GM GDS2 няколко пъти. Направих почти всичко, което ми хрумна, и всичко, което беше предложено в YouTube и форумите. Просто искам да си поправя колата, без да се налага да я тегля до дилър и да плащам скъпо, за да се зареди отново.
Здравей, Тим,
Благодарим ви за отзива. Можем ли да ви попитаме откъде сте получили софтуера и каква версия използвате в момента?
Прегледахме всички наши имейл записи, но не успяхме да открием никаква заявка за софтуер от вас.
Ако е възможно, моля, свържете се директно с нас и ни изпратете екранна снимка на проблема, заедно с подробно описание на проблема. Също така, уведомете ни каква е операционната система на вашия компютър.
Нашият екип за техническа поддръжка ще ви помогне да започнете правилно диагностиката.
С най-добри пожелания,
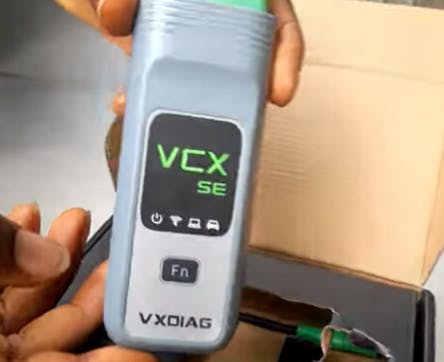
Взех директно SE PRO версията, защото имаме две коли у дома - моят GM и Ford-ът на жена ми. Това устройство отговаря на всичките ни нужди.
След като прочетох много отзиви, реших да купя това устройство, въпреки че никога преди не бях използвал нещо подобно. Оказа се, че е чудесен избор! Работи перфектно за диагностициране на моя Nissan от 2013 г.
Чух много за VXDIAG NANO по форумите и реших да го пробвам. В крайна сметка ме впечатли много повече, отколкото очаквах. Дори поддържа програмиране и кодиране.